MotionVFX's mO2
3D Animations + Rendering = SLOW right? Not necessarily! That is where MotionVFX's plugin, mO2, can change things. This plugin for Apple Motion and Final Cut Pro allows you to create realistic and stunning 3D animations. I have periodically messed around with animation and motion graphics since the Summer of 2017 (mainly Motion and Blender). Therefore, you could definitely put me in the beginners cohort, but at the same time, I'm learning so much with mO2. With that said, I want to share some tutorials as well as some resources that will hopefully help you enjoy mO2 as much as I do.
Get the plugin here: MotionVFX - mO2
Another plugin that I have used in mO2 is mPuppet by Motion VFX - Check it out here.
Get the plugin here: MotionVFX - mO2
Another plugin that I have used in mO2 is mPuppet by Motion VFX - Check it out here.
My Project Files And Other Resources
- Project Files - These are from the tutorials I have on YouTube.
- mO2 Manual - This is straight from the folks over at MotionVFX.
- mO2 Facebook Group - Go ahead and join!
- Tutorial Request - Or if you have a question.
- My Tutorial Playlist - Straight to YouTube.
- MotionVFX's Playlist - Straight to YouTube.
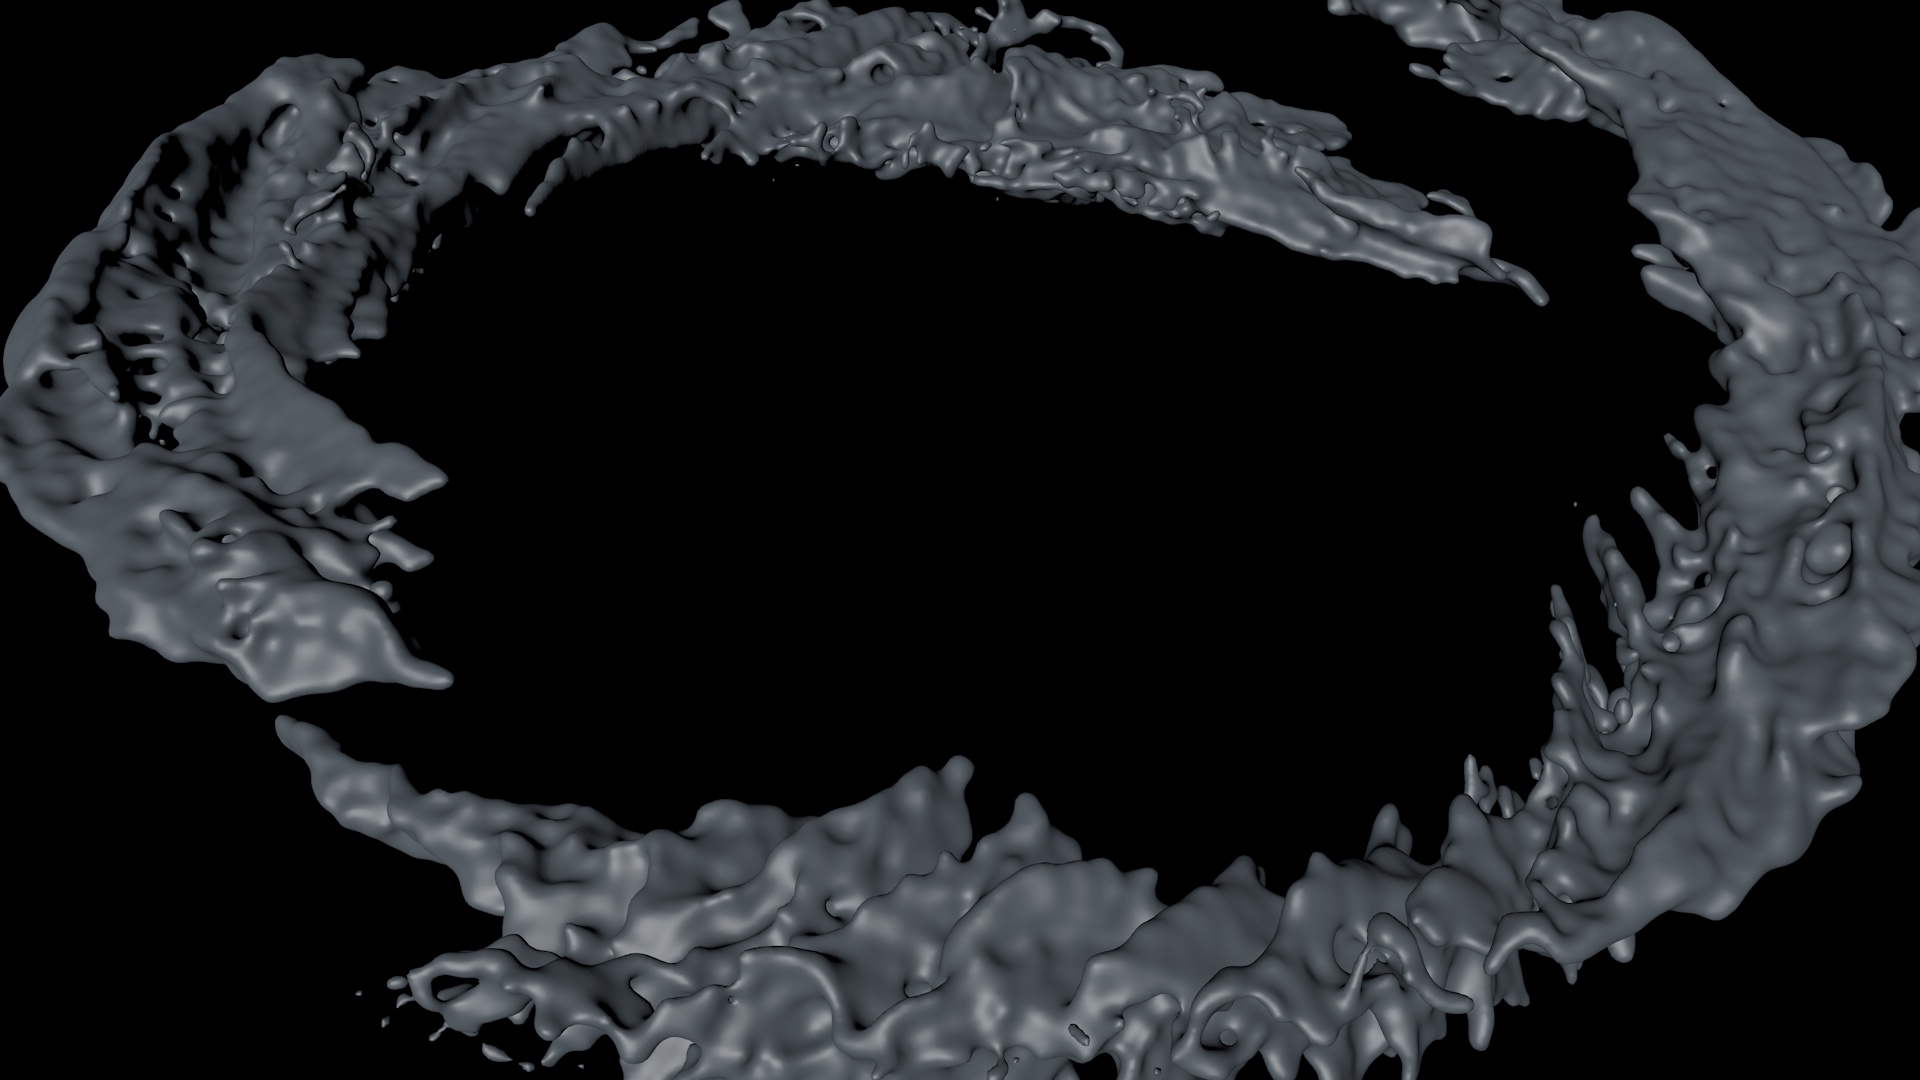
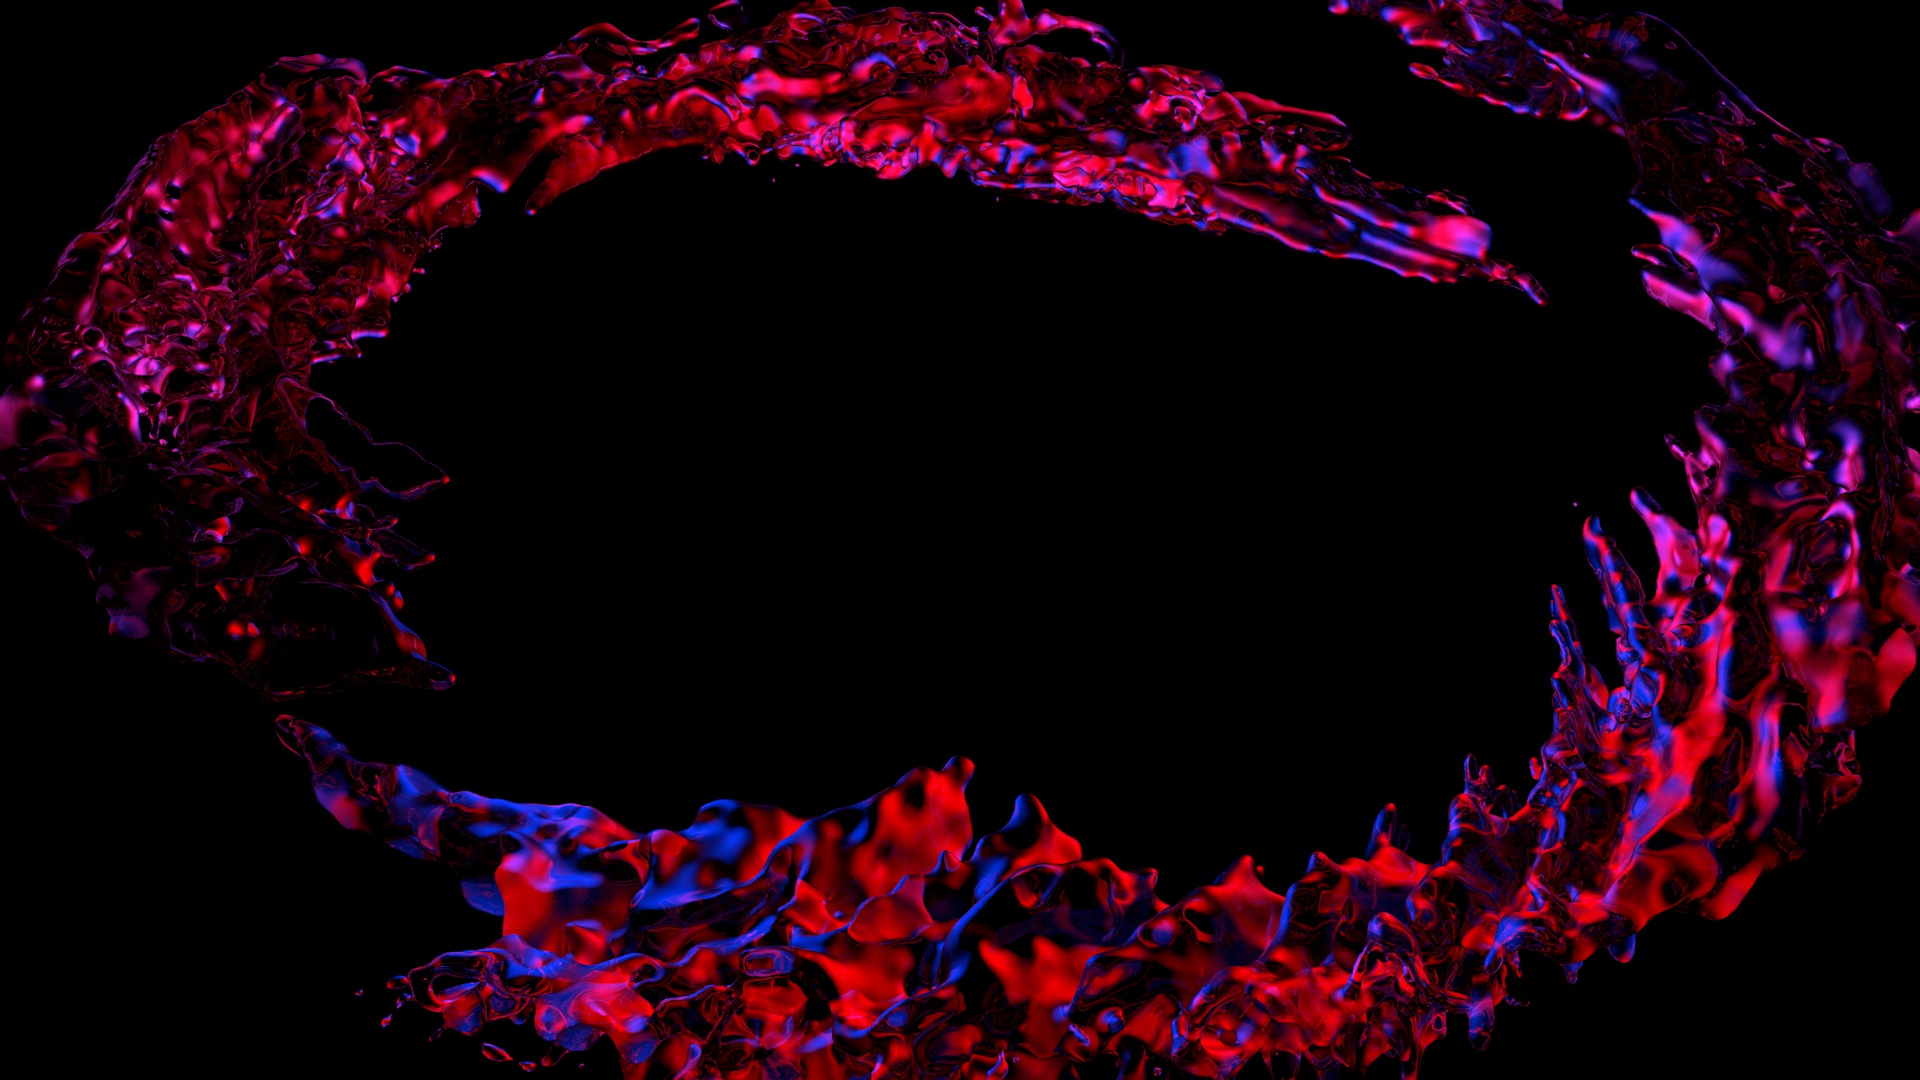
- Fluid Pack - Easily add these object files into your mO2 project and apply various materials to get all sorts of neat effects. Check out tutorial #10 for more info.
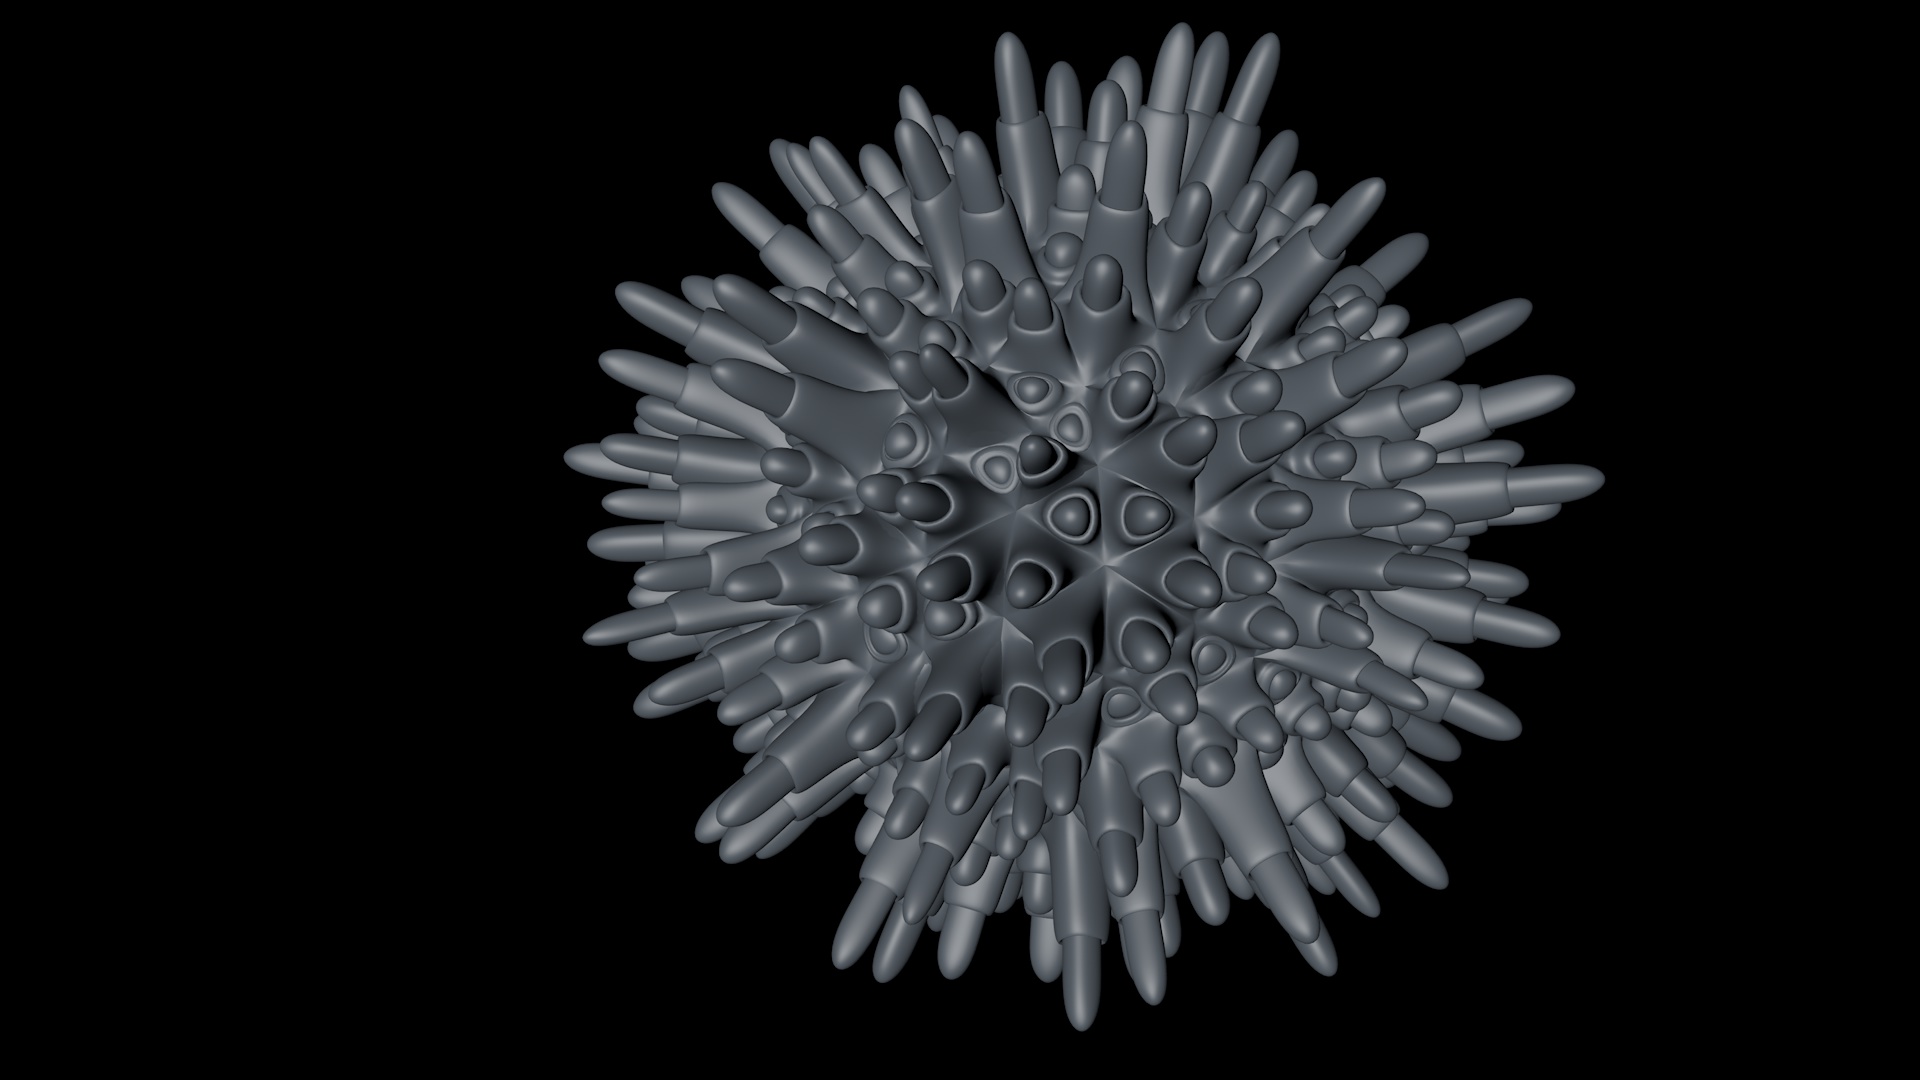
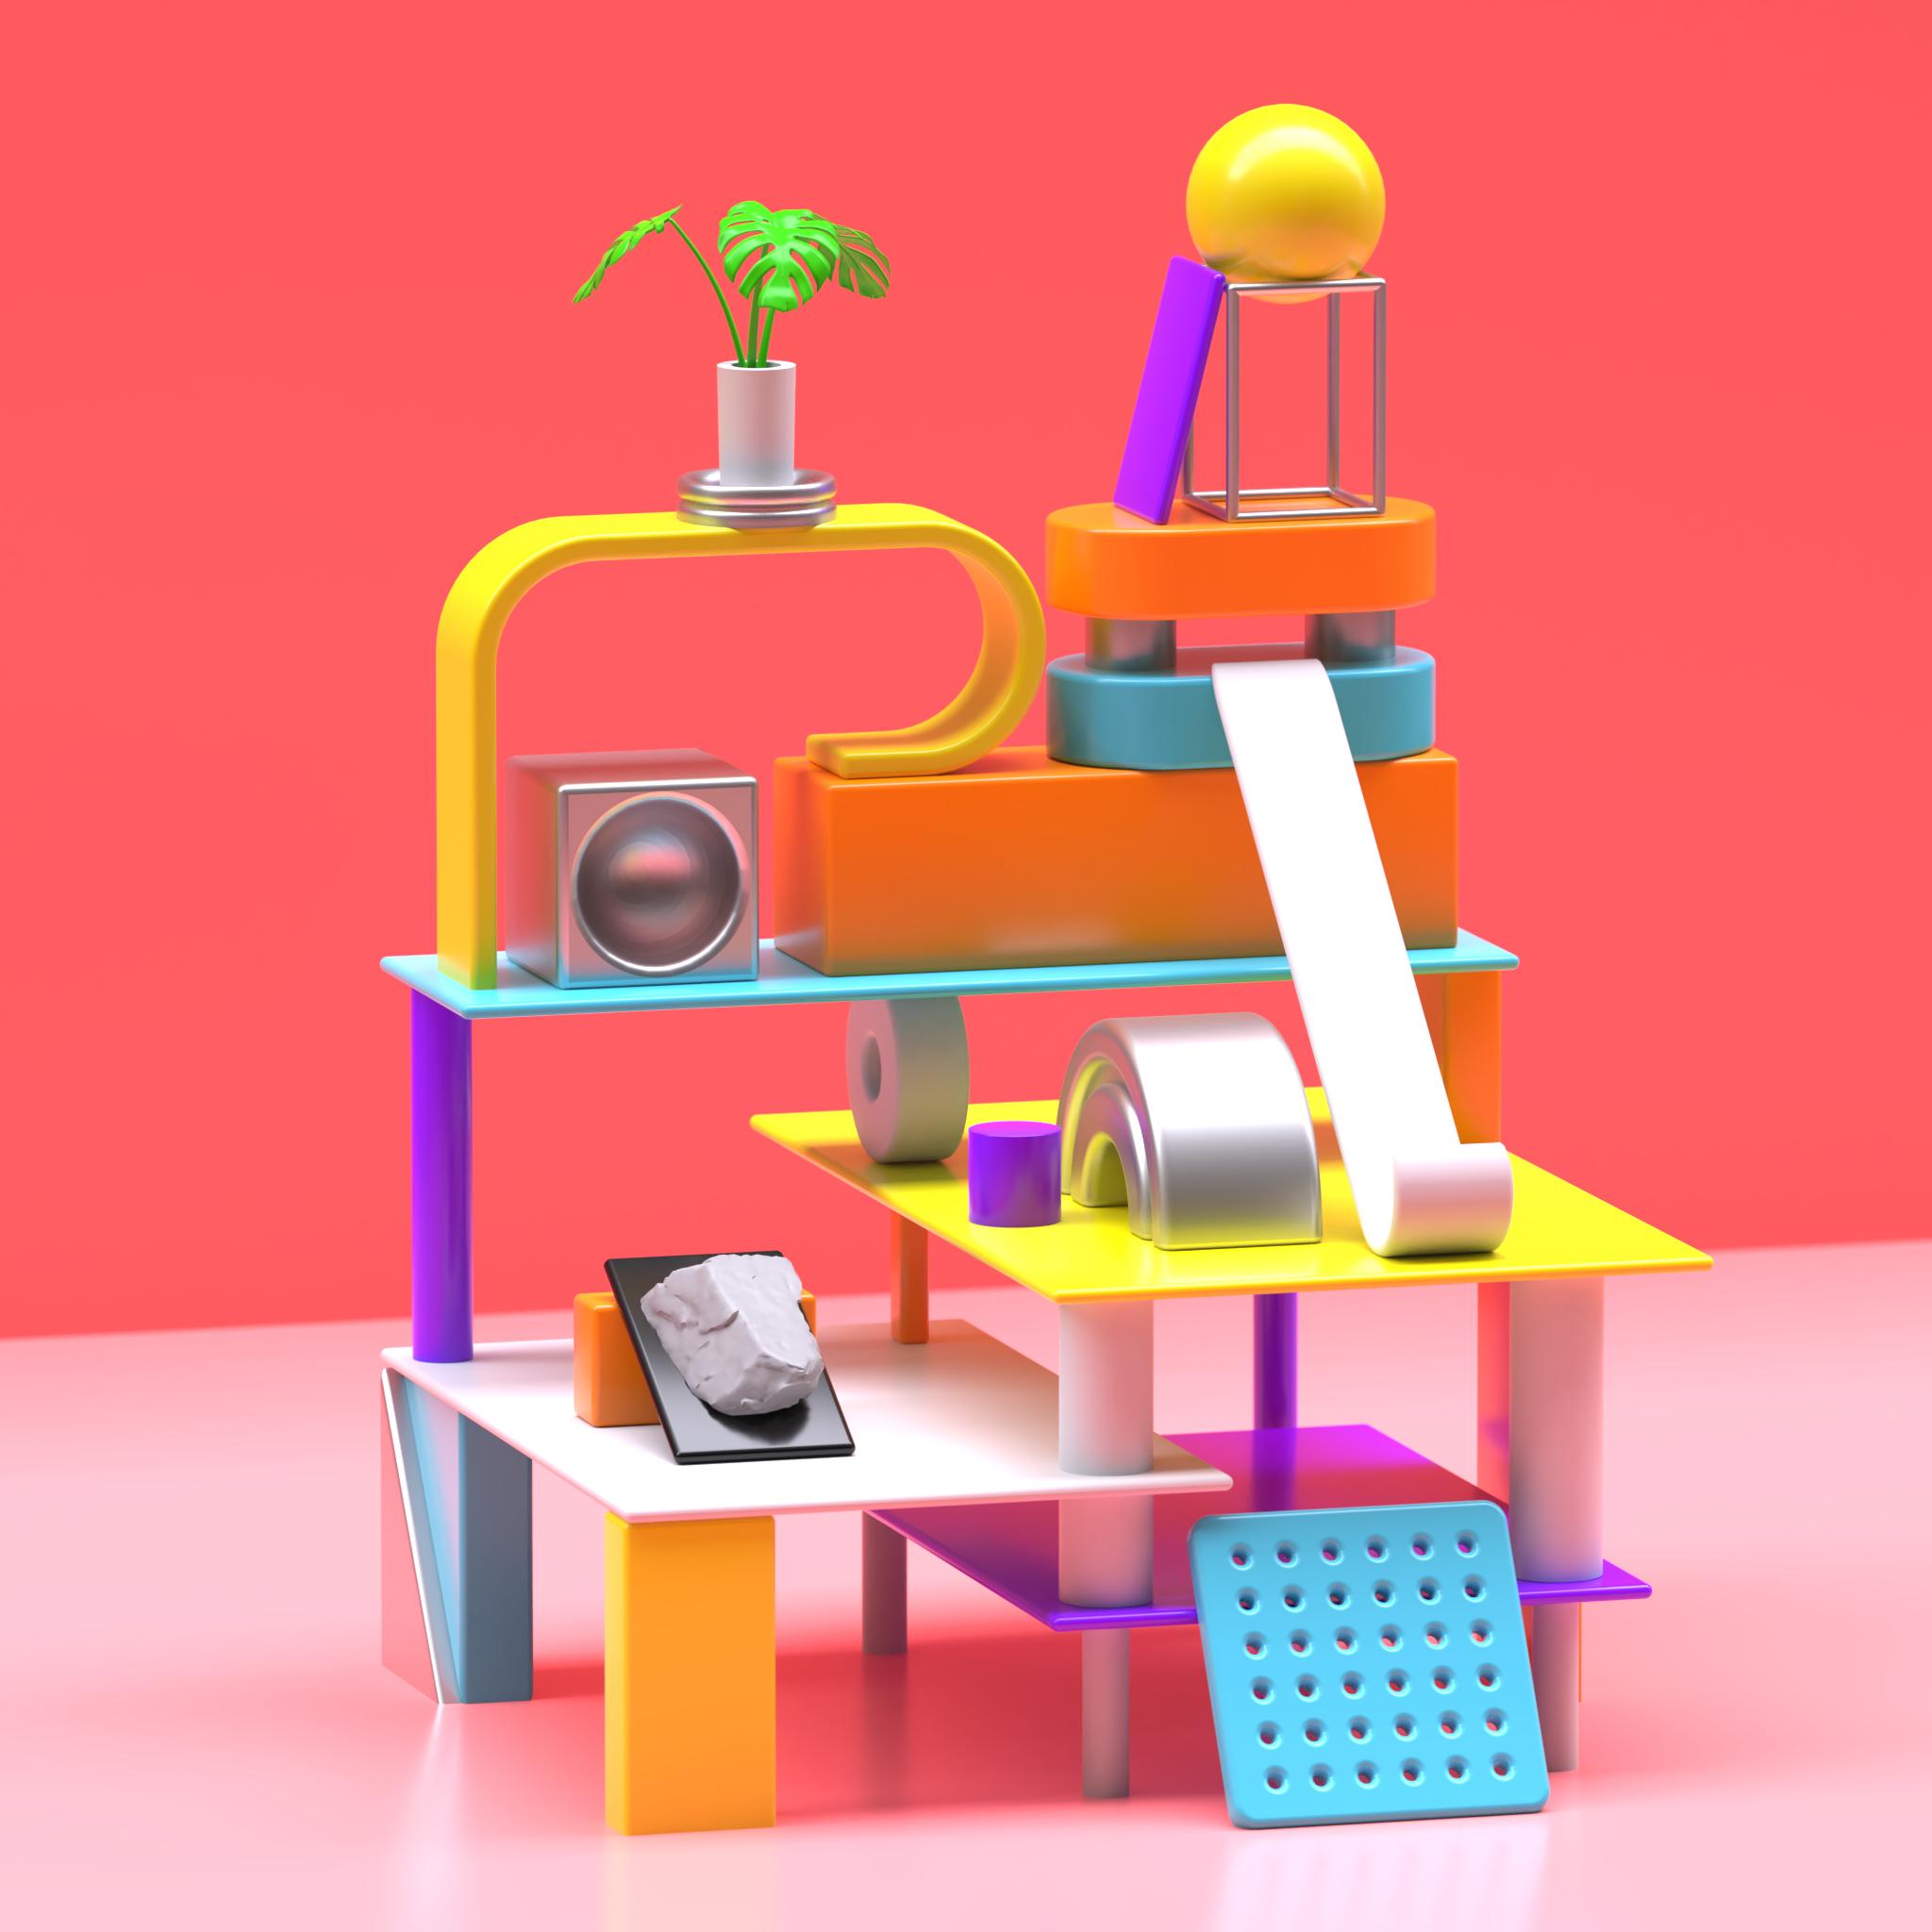
- Abstract Pack - Abstract geometry object files for mO2 or any other 3D software. Check out the promo video.
- Private Project Request - Do you need something made in mO2?
- Take My FREE mO2 Course - We will create a looping animation, with everything being done in mO2.
Tutorial #1 - Creating An Intro From Start to Finish
Let's build a 3D scene. Everything is covered in this tutorial. Four cameras (keyframed), environment lighting and a single sphere light with audio are some of the main points covered.
Tutorial #2 - Animating Lights
Animating spot and sphere lights are the main objective in this tutorial. Instead of keyframing the lights though, we will use object behaviors. You can modify the parameters of the object behaviors to get the effect that you want without having to keyframe. Good stuff.
Tutorial #3 - Using Linear Instancers and Modifiers to Create a Tunnel
We will also look at keyframing a Motion parameter (such as Wriggle). There are multiple parts in this tutorial where you could export an animation, but with each addition to the project in this tutorial, we get entirely different effects.
Tutorial #4 - An Explosion With Instancers and Modifiers
Using a sphere in a grid instancer, we can apply a modifier to the instancer and then adjust the scale of our instancer to give an explosion effect. We will also work with illuminance to brighten up the explosion (or fireworks).
Tutorial #5 - The Tiki Pirate Ship from Sketchfab.com
We will make a few minor changes to the texture and/or materials of this model in mO2 so that the final result will look very similar to the preview at sketchfab.com. The two main things of focus are to adjust the opacity of the water and also getting rid of the "rafts" in the water so that we actually see the water ripples.
Sketchfab model attribution:
Author/Artist/Designer - Glenatron
Link to the model - Tiki Pirate Ship
Sketchfab model attribution:
Author/Artist/Designer - Glenatron
Link to the model - Tiki Pirate Ship
Tutorial #6 - Inspiration from Nodes 3 - A Polygon Tunnel
I will go over some tips for creating regular polygons with any number of sides. This requires a little bit of geometry of course. We will also look at using various types of instancers. Make sure to pick up this project from my project files so that you can dive into the hex tunnel as there are quite a few pieces in the mO2 generator of that project.
Tutorial #7 - Cinema4D and mO2 - Baking Cloners
Using motion capture data from Mixamo, we will create a model that is covered in cloned shapes in Cinema4D. We will then bake the animations of the cloner using an Xpresso Tag. Finally, we will import the .c4d file into mO2 to quickly add lights, effects, materials, etc. and achieve a quick render.
Here are some links to other useful tutorials that inspired this one....
Tutorial #8 - DNA Double Helix Animation
We can get a deformed animation effect using a bunch of spheres in a linear instancer and then apply keyframes to the end rotation of the linear instancer. A nice, quick, and a easy effect.
Tutorial #9 - A Cube to Sphere Animation
Inspiration for this tutorial came from another mO2 user who saw Fattu's Tutorials on YouTube doing this effect in Cinema 4D. We will use mO2 to get a similar animation.
Tutorial #10 - Fluid Packs and Particles
Nice particle animation effects are easy to do in mO2. You can apply this to logos and objects. Take note of the number of vertices on your object. Instancers and modifiers will be used in this tutorial as well. Check out my fluid pack over at the CraftMath Store.
Tutorial #11 - An Abstract Ring Animation
Several linear instancers will be used here. End rotation and line twisting of one of the linear instancers is what creates the ring. Anchor points are very important to understand in this tutorial as well.
Tutorial #12 - Quick Light Streaks or Paint Strokes
We will use Apple Motion to create the streak and then save that video (with alpha) to use in mO2. It will require you to texture a plane with a drop zone using the video. After you set the opacity to use the albedo alpha, you can customize the look of the streak using the plethora of settings provided in mO2.
Tutorial #13 - KITBASH 3D in mO2
This will be a short series of videos. KITBASH3D models import nicely into mO2 when done correctly. I cover some techniques I use for importing these models with their materials. We will also look at properly sizing or scaling these models in mO2. Lastly, we will have a sneak peak at modifying just a few materials in the models, which really livens up the scene. Video TWO will pick right up from where we leave off here.
Tutorial #14 - KITBASH 3D Part Two - Baby Yoda, Stitching, Rendering Tips, Organizing, etc.
This video covers a lot of things. Reducing flicker in your render. Organizing your scene into groups for easy adjustments. Baby Yoda. Check it out!
Tutorial #15 - The Object Instancer and Fluid Pack 3 Update
You can use primitives and objects in mO2 as the object in an instancer in which you want to instance other objects over. That sounds like a tongue twister right? Check out this tutorial which covers this topic as well as adjusting the instanced objects themselves.
Tutorial #16 - FREE Stuff - Creating an Abstract Mountain Scene in mO2
Download some completely FREE assets from my store by clicking here and then use this short video for a few tips on creating a unique and abstract mountain scene. Lights and materials are the only additional things needed really... with some various camera adjustments.
Tutorial #17 - Creating and Animating Gears and MORE FREE Stuff
Check out this tutorial where I show you how to create your own gears. You can also animate these properly with a little bit of math. It is all discussed in this video. Pick up my FREE assets from the store.